One of the last things I had the chance to do before I left London this past July was to meet and hang out with the amazing Cleo Cobb at her home studio. Cleo started her handmade clothing company a few years back and has been growing her range every year.
Earlier in the year, Haydn received one of Cleo’s handmade shirts for Christmas. He rocks it whenever he can.

I reached out to Cleo and asked her a few questions about her work, her life and what inspires her to “Rock”! This is what she had to say.
MC – Let’s start by getting to know you a bit. Where you from, where do you live now?
CC – I was born in St Bartholomew’s Hospital in Smithfield and grew up in the Barbican until I was about 14 when I moved to across Blackfriars Bridge to Southwark. Now I live with my partner and our two children next to Victoria Park in Bow.
MC – When did you start designing your awesome shirts?
CC – I first made one of my Skull Tees for my eldest daughter in about 2011. There was a princesses and pirates day at a local childrens’ centre. I was so pleased when my daughter said she wanted to be a pirate, I jumped at the chance to make her a pirate t’shirt. I made one for my (then) toddler too! I then made a few as birthday presents for kids we knew and it’s grown from that.
MC – Did you have a boring day job before that?
CC – Making things and blogging about it was something I was able to do around raising my children during nap times and after bedtimes. I still have that day job, but now the kids are in school and I schedule running my business around that timetable.
I also starting working in the art department of a secondary school about a year ago. As well as giving me a regular income while I establish and build my business. It also helps keeps me connected to what’s going on. I hear music and slang and see fashion and style at the school which all helps keep me in the loop.
MC – If so what made you decide to leave and create a new life?
CC – I choose to build my handmade business while being at home with my kids mostly because of being at home with my kids.
Before having my first daughter, I was studying textiles and procrastinating on how to turn those studies and all my other training and skills into a business. Having my kids put that development on hold for a bit.
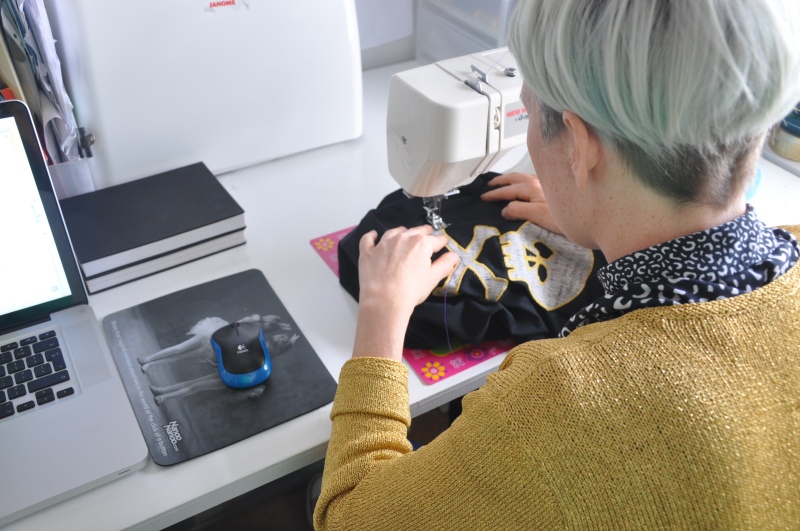

Hard at work in her home Studio, Cleo sews up a custom gift for a client.
When my youngest was still in her first year I decided to start blogging about all the things we did at home that were creative and to document the things I made. This was mostly to stop going insane. It is so easy for those things to go unnoticed in the avalanche of parenting duties and daily routines so flagging up the creative stuff we did really helped. Some of those creative projects were presents for people we knew and some of those turned into products.
MC – Tell me about your process, do you need quiet to work or are you rocking out?
CC – At this stage of my business I have to wear a lot of different hats. Sometimes I’m writing copy, taking product shots, editing photos, updating the site, researching new prints to work with, doing the accounting. During these times I need to focus and concentrate which can mean listening to music or no distraction at all.

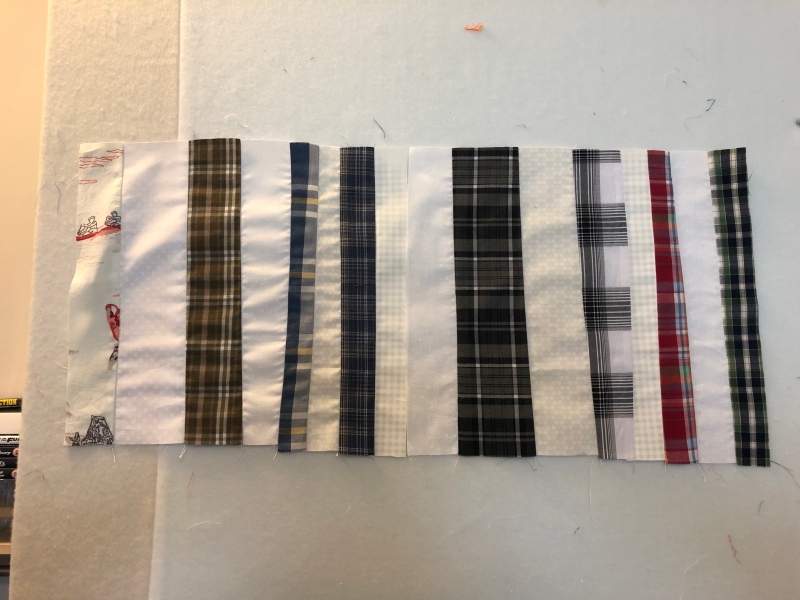
Stacked and ready to be finished.
When I’m actually making the tees, I can relax a bit as it’s all manual, I get a production line going and I don’t have to think too much. These times call for a bit of company and I could tell you this is when I listen to intellectual radios programmes, but I don’t! This is when my Netflix addiction comes in and I rack up some serous binge watching hours.
MC – Some of your designs are very Rock n’ Roll, What type of music inspires you?
CC – The 90s dance scene and rave culture is playing a massive part of my inspiration right now. I personally listen to all kinds of music while I’m working, but I’m really enjoying the renaissance of street wear and music from that time has been having. Lots of currant music, clothes, colours and iconography is reminding me of my adolescence. Discovering friends, clubbing, buying my own clothes and getting my first tastes of freedom.
MC – What kind of machines do you use to create your shirts?
CC – My equipment is very basic. I do everything on basic a Janome my mum bought for me when I was about 10 or 11. I’m on the verge of upgrading to another Janome. Probably a 2522LE. On my wish list is a Husqvarna Topaz 30 with all the extra software and extra hardware… you know, just in case someone wants to gift me…

MC – Is there something you would like to try and incorporate into your work but haven’t tried yet?
CC – I love working with great printed cottons by existing designers, but my ambition is to go back to designing and printing my own prints at some point in the future. I also have a zillion ideas of products I would like to add to my range and how I would like to expand the lines. I could tell you some of those ideas, but then I’d have to kill you.
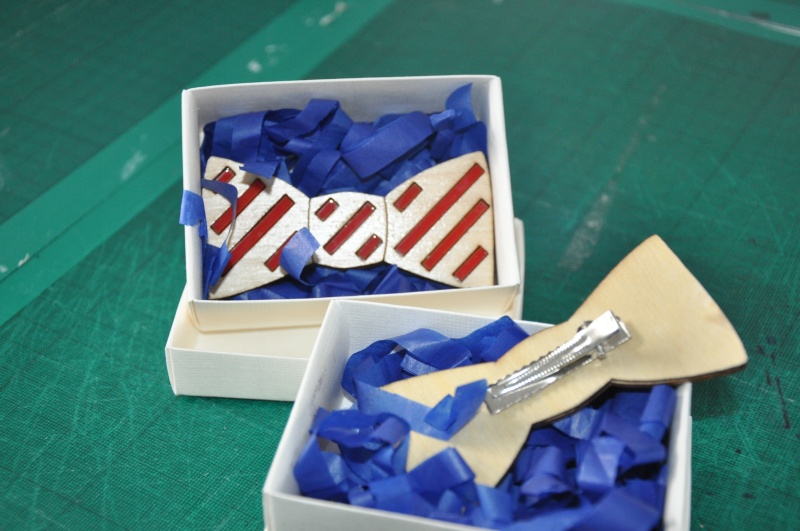
Not only shirts get made in the studio. Check out these cool hair clips. All made by hand!
MC – Where do you see yourself in 10 years?
CC – I will have nailed the life/work balance of course. Living by the sea, still being passionate about the things I make. I’d like think I would have a team working with me by then, taking over the world one tee at a time. I would hope I would have learned a lot about running a business by then so that I would be in a position to mentor other people in building their own handmade businesses. That would be great.
If you are in the Spitalfields area every Saturday you MUST stop but and pick up some awesome gifts from Cleo at her stall.

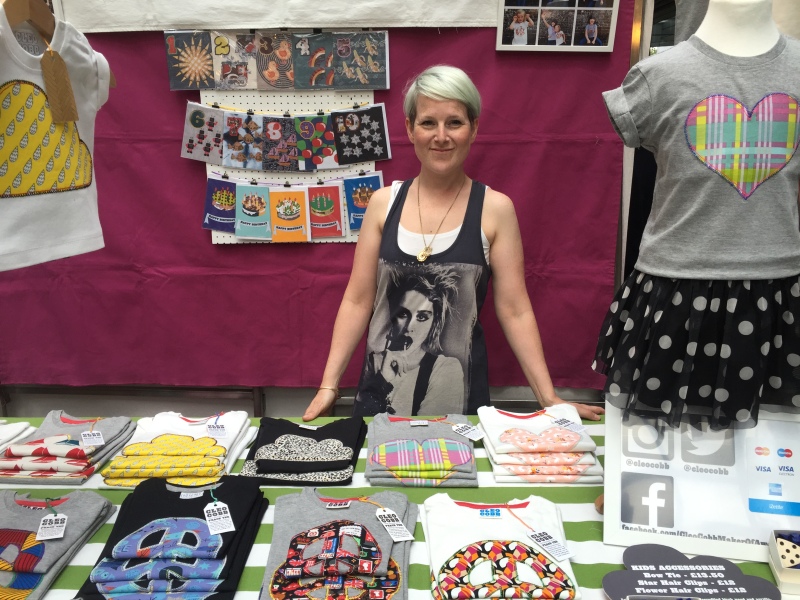

Support independent crafts.

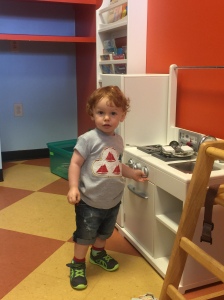
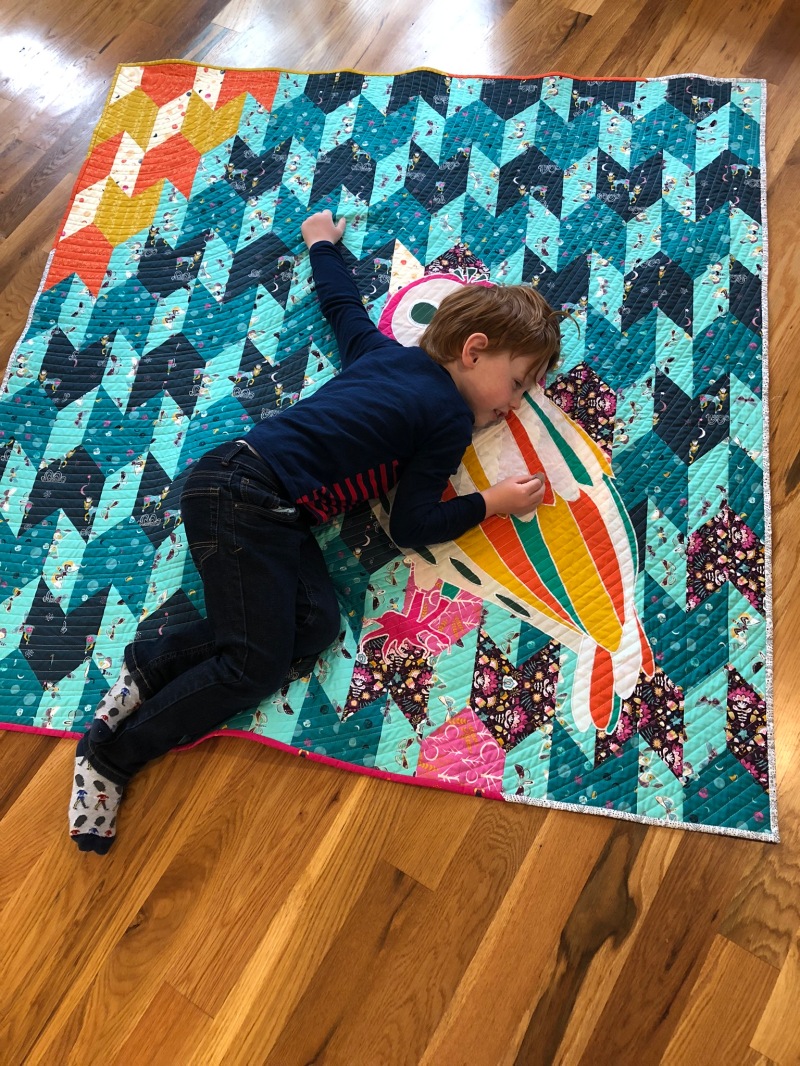
Someone is super happy about his Cleo Cobb shirt!


 SO… Some of you may know about my little


